


So, it’s under way. I have roughly 15 more very nervous hours to go before I know how it turned out…
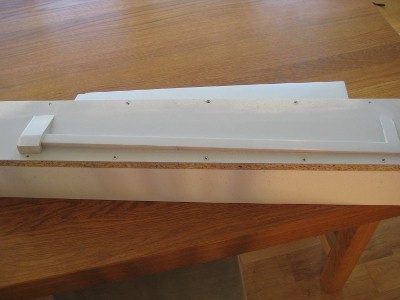
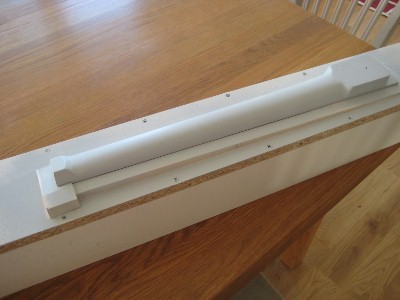
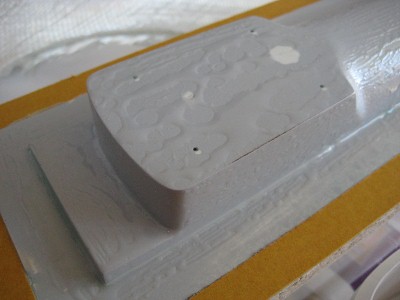
Since I had made a complete model neck, but I will have to create the final necks in two steps (back and fretboard) I first had to “convert” my model into a mould for the back. The neck will rest on the below seat:
To not make the epoxi stick to the mould, I sealed it with latex sealer and then polished the whole thing with… Car wax.
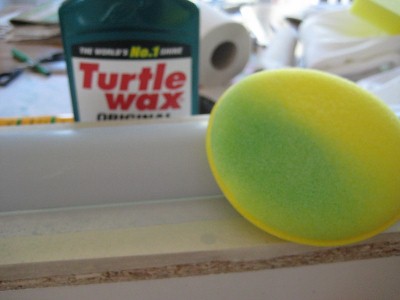
I was nervous about this step but I think it might work as you might see in one of the following pictures – the epoxi does not stick at all, just like water on a newly waxed car. I then put double-stick tape around the edges to make the vacuum bag to stick to.
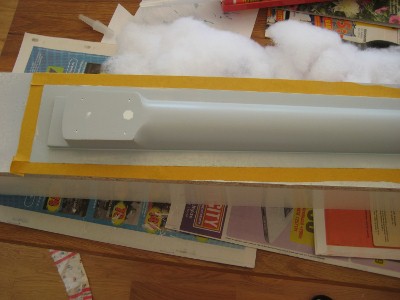
And then for the tricky part. I covered the mould in epoxi and as can be seen, the wax seems to have done its job.
Next step way laying on the fiberglass, saturating it with more epoxi.
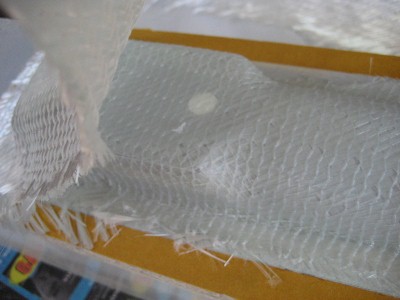
I put on three layers all in all. Then came peel-ply and pillow foam and finally the bag itself. Plenty of duct tape later:
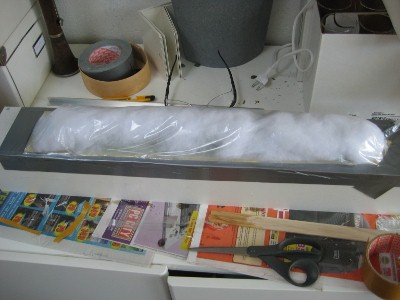
With vacuum applied, I could work on sealing some more leaks with duct tape and the vacuum started doing its job.
Here is the complete setup:
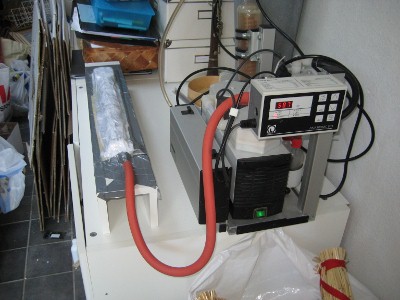
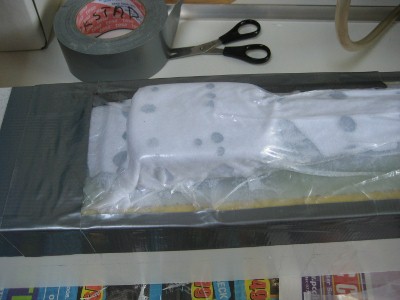
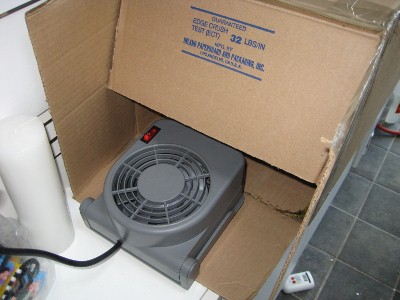
To speed up the curing process as well as making the mould more resistant to high temperatures, I created a makeshift “oven” to bake it in.
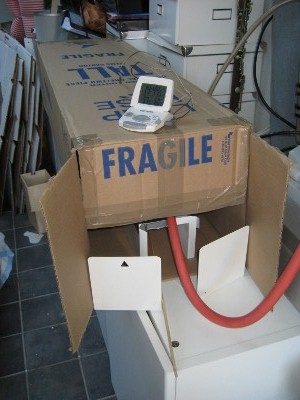
It’s set for 60 degrees centigrade and 15 hours. Not sure how I will sleep tonight…