


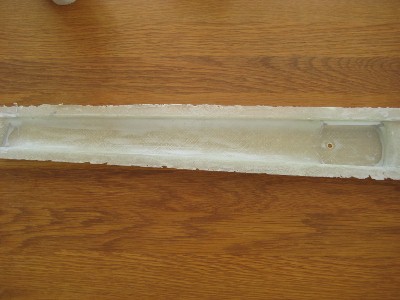
Good news and bad news. The good news is that there is a mould! It is far from perfect, but pretty much on par with my expectations for a first try.
The bad news is that my “plug”, i.e. the positive mould was all but ruined. For one reason or other, the car wax did not work. At all. Every single bit of filler used on the plug sat in the mould when it was done. I have had to spend several hours sanding it away from the mould.
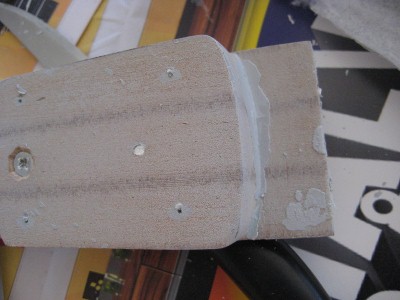
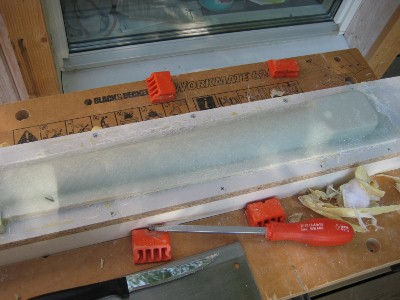
As the images above show, the plug is in pretty bad shape. I do still need it to make the other part of the mould, so I’m working on fixing it again now. I’m not sure what went wrong. Either the car wax didn’t work because I heated everything up, or the filler got messed up from the heat. Pretty sure it is not the latter though, but it could be that I was misinformed about using car wax. I will make sure I do the right thing for the next job.
Anyway , looking back, the rest worked pretty much according to plan. The peel-ply came off like a dream and there were no problems on that end. I noticed yesterday as I was applying the vacuum that I had made the bag a little too small/tight in one spot around the heel but was not sure how much it would impact the results. I did impact quite a bit, so will have to fix that in the mould before I can use it.
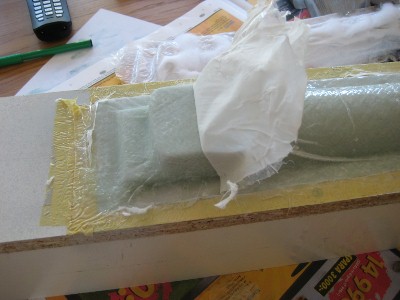
Peel-ply coming off:
I didn’t dare leave my “oven” on over night, so it is curing again now as I am trying to repair the plug. More progress will follow…