Having implemented my guitars in serial production over in Ohio (see previous post) I finally had a picture of how things were done in larger scale. Two things stuck out, both driven by vacuum, and I brought materials back home with me. Now that I have them running, I don’t know how I could do without them for so long. But it took some experimenting…
I find that the biggest challenge in running a CNC is figuring out the ordering of the steps, from a construction perspective and from a tool change minimization perspective (my small hobby CNC needs to have tools changed manually). The next challenge is figuring out how to fasten the workpiece so that any screw holes will be milled away in a subsequent step, or hidden by another part. When I first got it, I broke several bits and ruined several workpieces by running into them and causing all kinds of mayhem. All in all, pretty tricky. Now, the second challenge is much easier to overcome, but having said that, I have revisit the first for every single operation…
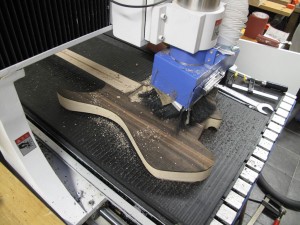
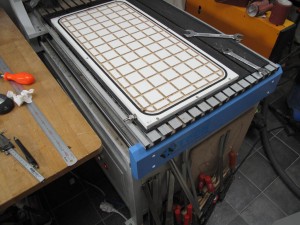
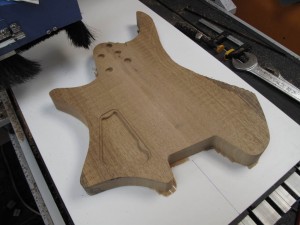
First, here is the end result:
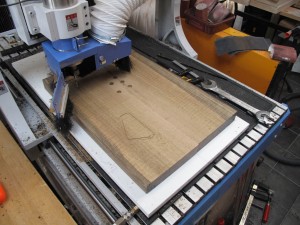
The front of #20 is being routed for cavities and the bridges, held to the table by vacuum.
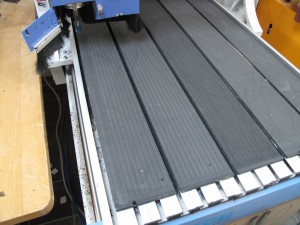
And here is how I started. First, I milled the original table flat. Previously, I had a fixture on it, which was in itself milled flat.
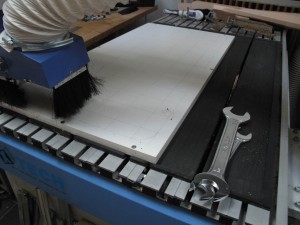
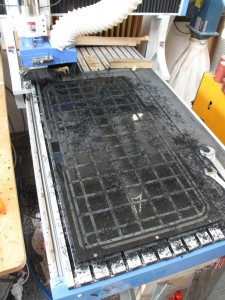
The so called “spoilboards” I had seen in Ohio were made from chipboard, so that is where I started. I screwed one into the table:
And cut channels,
And put some sealing tape in the outer channel
It looked great! But it sucked… Literally. The porous chipboard would suck air through the material itself and the capacity of my vacuum pump was far from up to the task of keeping up.
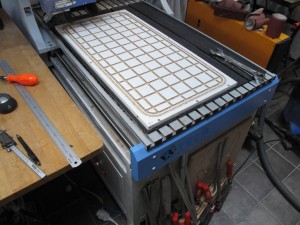
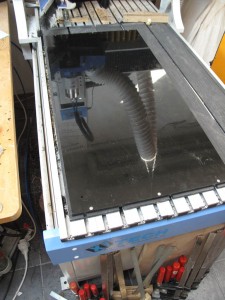
So, start again from square 1, this time in PVC:
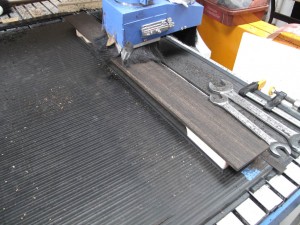
Using roughly the same program, but with much shallower channels:
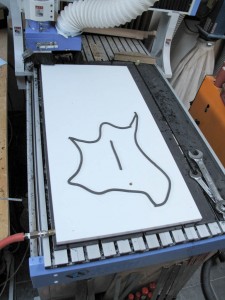
I could then use a spoilboard made from chipboard, just like in Ohio, as long as it has only one hole in it:
But I made two better fixtures in PVC for more complex work. One of them, you can see in the top of the post, and the other is here:
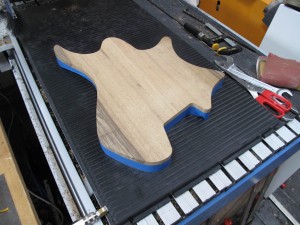
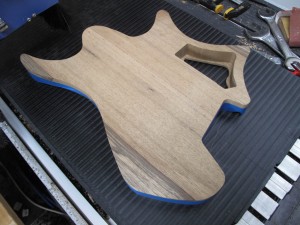
But I quickly got into trouble. When I flipped the body of #21 (seen above) over, it refused to be held to the table tightly enough! #20 (Macassar Ebony) was fine, but #21 (Black Limba) was not… Turned out that the Limba is just too porous for my vacuum pump to keep up with the job. So, I taped the edges to prevent air from being sucked through, and now it actually worked.
I will post pictures of the vacuum bag in action in a future post. It works like a charm! Shortens glue set times and give 100% uniform pressure.


