Over the past few days, I have been working on the neck.

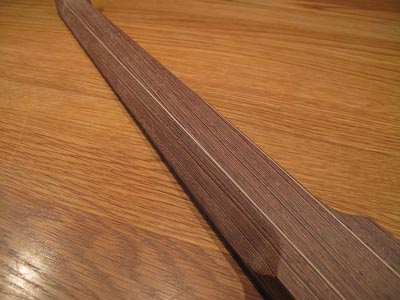
I don’t think I have told anyone but Rick, but it’s going to be a Trapezoidal Neck Profile. Above, it has been shaped roughly with a rasp.

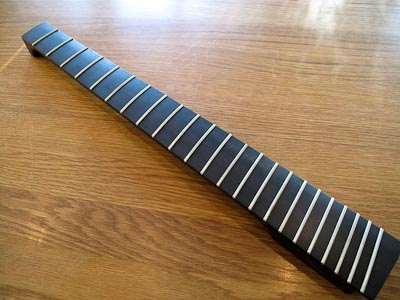
Some base oil finish (Watco Danish Oil) applied, and fretted.

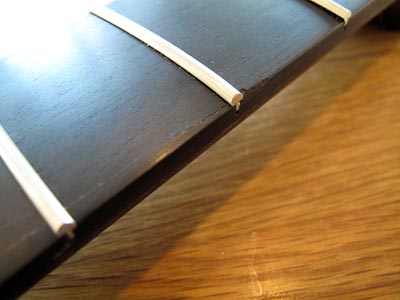
Unfortunately, I had a huge chip-out of the fretboard. But considering the number of unknowns on this build (Semi-Hollow, Trapezoidal Neck Profile, Fanned Frets, Carbon Truss) I will not worry too much about it. It will not affect the playability, but doesn’t become the nice show-off instrument I had planned.
Weight: 475 grams. Compared to Ibanez Allan Holdsworth neck (maple/ebony) 575 grams and Squire Strat (maple/rosewood) 625 grams.

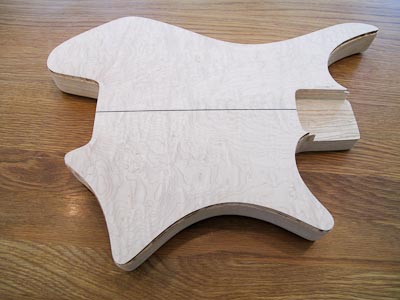
I also routed the channel for the binding in the body, and had planned to fit it today. I had ordered the wrong kind though, so need to wait until the new one arrives.


Looks fantastic, Ola!
I’m very excited to follow your progress…to me this represents the principles behind eLUTHERIE.org in action.
Because you are using an ebony fretboard, you can easily repair those chips by mixing epoxy dust (from sanding) into clear epoxy. Apply, then sand smooth. If you use black fretboard oil dye, rubbed lightly over the whole fretboard, the repair will vanish.
LINK | http://www.stewmac.com/shop/Finishing_supplies/Colors,_tints,_and_stains/Black_Fingerboard_Stain.html
I meant to write “ebony dust” not “epoxy dust” — ebony dust mixed into clear epoxy will be strong and workable, as per above. Tricia brought home the plague from Kindergarten, and my typing skills were hovering around fifty percent.
🙂
Thanks Rick – it was more mentally challenging to take a step back, remove the frets and fix it, than it was a work challenge. What didn’t show in the picture is that it was more than just a chip. The actual wood had a long crack in it that didn’t show up until after I radiused the fretboard (i.e. when it was already glued on) so I had to remove the top four frets, glue the piece in place and then repair the chipped portions.
I did get it done last night, along with planing, crowning and polishing the frets, so am good to go now.