


I am continuing to work on #5 and #6 with the intent of having them both completed before the Uppsala International Guitar Festival, which is headlined by Paco De Lucia this year. Unfortunately, I will be travelling so I can only attend the last two days of the festival, but will be exhibiting for the full four days. If all goes well, #5 will be on its way to Chris Letchford and not at the festival, though.
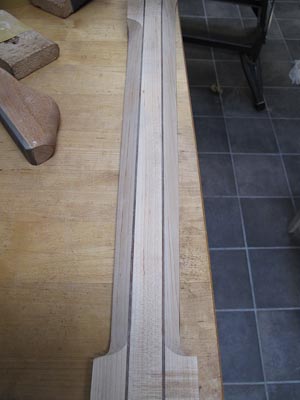
Below, you can see the neck set of both builds. #5 has an extra 5 mm as it will have a wenge top glued on.


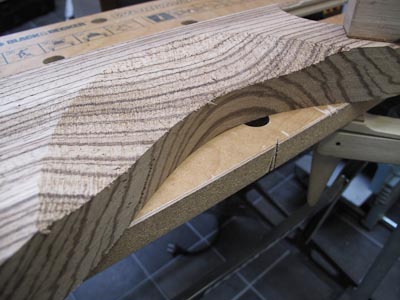
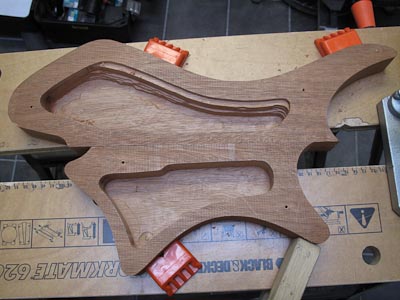
I am removing weight from the body of #6 in a new way. About 250 grams was saved by routing these channels into the body sides.

Here, you can see the neck shapes. #5 conventional thin C-shape, #6 Trapezoidal Neck Profile (contact Rick Toone for more information about this neck profile).

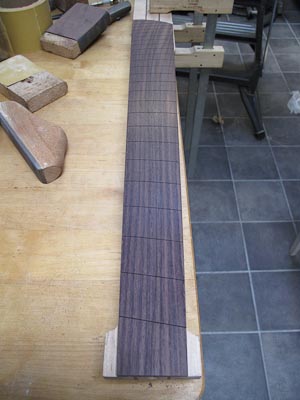
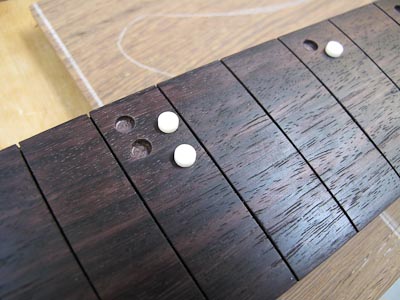
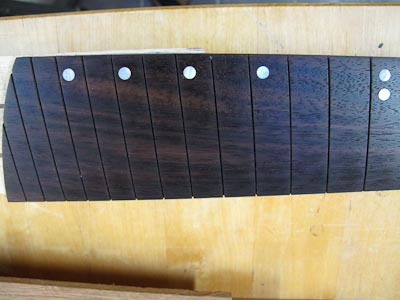
#5 fretboard radiused, inlaid, and fretted:

I’ve been waiting for this moment for a long time: gluing the sides on to make the instruments complete.


I am doing things in the following order:
- glue laminates of neck
- band-saw away and shape section on underside of neck portion
- insert truss-rod (while sides are straight and can be used as guides for router)
- shape contours of fretboard (so that it can be used as a router template later)
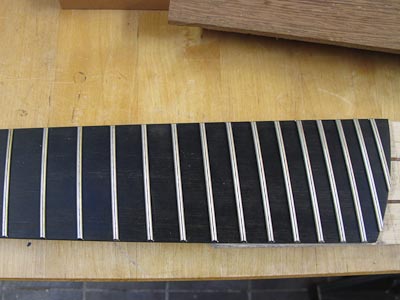
- cut fret slots (while it’s still thin and easily fitted into the slot-cutting jig)
- glue fretboard (while it is flat so that it can get optimal clamping pressure)
- use router to shape contours of neck (using fretboard as template)
- rough shape back of neck
- radius fretboard
- finish fretboard (add inlays) and fret neck
- glue sides (and top)
- finish shaping
- sand
- sand
- sand
- rout cavities for controls and pickups
- sand
- sand some more
- finish/polish
- done
So, it’s an easy 20-step process.
Here, I have created a steamer to soak/heat the top so that it can be bent. The rule says 1 hour per inch thickness, so with a 5 mm thickness, I steamed it for 15 minutes to be on the safe side.

And then I clamped it on top of the body, which was protected by aluminium foil.

I had solicited advice on bending both from the literature, my friend Tommy Jakobsson and Rick Canton. I was nervous not only for the thickness, but more about the graininess of the wenge and having to bend it across the grain on an angle. I did some experimenting on smaller pieces in advance and ended up cutting a groove on the underside of the top where the bend starts. It kind of worked, I think. It’s being glued right now so I will know soon enough.
Full pictorial progress below:


Ola,
All looking very good and your detailed explanation of build features was interesting to think about. Have a great time at the festival!
-Al